Small Flat, Small Budget, Big Clay Energy: Your First Home Pottery Kit
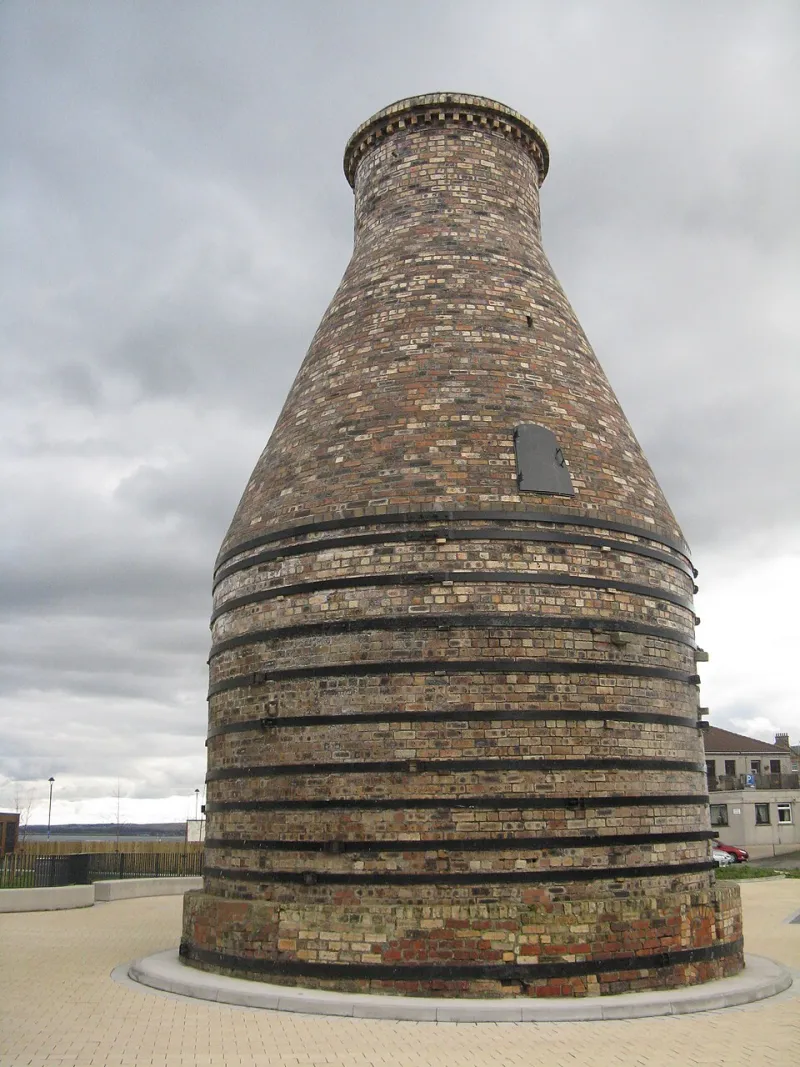
Photo: Edwardx, CC BY-SA 4.0, via Wikimedia Commons
There is a particular kind of pottery daydream that involves a sunlit studio, a wheel humming in the corner and shelves of perfect mugs drying quietly. Then there is the reality of a one-bed flat in Leeds, a kitchen table that doubles as a desk and a landlord who would prefer you did not install industrial machinery. Good news: the second scenario is still a perfectly decent place to start making pots.
This is not a guide to becoming a production potter from a studio apartment. It is a guide to making small, honest hand-built pieces with a £50-ish kit, a wipe-clean corner and a plan for firing that does not involve buying a kiln. Think of it as the clay equivalent of a balcony herb garden: limited, practical and surprisingly satisfying.
Start with the surface, not the shopping list
Before you buy a single tool, sort out where the clay will live. You want a surface you can wipe down, a place near a window for ventilation and somewhere to store work while it dries. A sturdy chopping board or a cheap plastic tray from B&M or IKEA is your friend. So is a shower curtain offcut or a plastic sheet from a DIY shop, taped down to protect the table.
The aim is not a glamorous studio. The aim is a corner where you can make a mess, clean it up wet, and keep dust out of your living space. Pottery dust is the quiet houseguest you do not want. More on that below.
The £50 shopping list that actually adds up
You do not need a full tool roll. You need enough to make a few small pieces and learn what you like. Prices vary, especially if you order clay online and pay postage, so buy clay locally where you can.
- 5kg stoneware clay, £12–£18. Look for a smooth mid-fire stoneware that is forgiving for beginners. UK names to look for include Scarva, Potclays and Clayman Supplies, often stocked through local art shops and ceramic suppliers. If you can collect, do; 5kg is heavier than it sounds.
- Basic hand-building tool set, £6–£10. A wooden rib, needle tool, loop tool and sponge will cover most early projects. Art shops and online ceramic suppliers sell starter packs; you do not need the fancy set.
- Wire clay cutter, £4–£6. Or use strong fishing line and two handles. A cutter is neater for slabs.
- Plastic sheet or bin bag, £0–£2. For keeping work damp between sessions.
- Spray bottle, £1.50. A cheap plant mister is perfect.
- Dust mask, £5. Look for one rated for fine dust, not a flimsy surgical mask. You will not wear it all the time, but you will want it when handling dry clay or cleaning up.
- Washing-up tub, £2. Use it for wet cleaning and for catching clay water. Do not pour clay down the sink.
- Notebook or scrap paper, £1. Notes on clay, drying times and glaze results are worth more than another tool.
That lands around £45–£55 depending on where you shop and whether you pay delivery. It leaves no room for a wheel, which is fine. Hand-building is cheaper, quieter and much kinder to a small flat.
Tools you can skip, and what to use instead
A fork makes a decent scoring tool. An old loyalty card is a smoothing rib. A chopstick is a hole-maker. A garlic press is not a clay extruder, no matter what the internet says. Keep your kit small and wash tools in a tub rather than the sink.
If you want one upgrade, buy a cheap turntable or banding wheel. It is not a potter’s wheel, but it helps when you are smoothing a coil pot or decorating a slab tile. It is also the kind of thing you can find second-hand for a few pounds.
Make a corner that can be cleaned wet
Clay dust is the main safety issue in a home setup. Dry clay and glaze materials contain silica, and fine dust is not something you want settling into carpets or bedding. The fix is simple: keep clay wet, clean with water, and avoid dry sweeping or sanding indoors.
Open a window while you work. Use a damp cloth to wipe surfaces. Wash tools and hands in a tub, then let the clay settle before tipping the water outside. Store dry clay in a sealed box. If you are mixing dry materials, wear a mask and do it outside or in a well-ventilated space. If you have asthma or another respiratory condition, take advice before setting up indoors.
Also think about your floor. A rug is a clay magnet. If you cannot avoid carpet, work on a plastic sheet and keep your clay contained. Your future self will thank you.
Firing without a kiln
This is the part that stops most people. You can make pots at home, but you cannot safely fire them in a domestic oven. The answer is a community kiln: local adult education centres, arts charities, open-access pottery studios and kiln-share schemes often fire work for a fee.
Rates vary, but expect to pay per piece or per shelf space. Some studios charge £5–£15 for a small bisque firing, with glaze firing on top. Others sell shelf space for £20–£40. The key is to ask before you make 20 mugs that do not fit anyone’s shelf.
Ask which clays the studio fires, what temperature they fire to, and whether they will fire work made outside their own clay supply. Many will not, because unknown clay can cause problems in the kiln. Buy a small amount of clay from the studio if you can, or check their approved list. Label your pieces clearly. Be patient; shared kilns run on other people’s timetables.
A realistic first project
Start small. A pinch pot, a slab trivet or a simple coil dish is ideal. Keep walls even and not too thick. Dry pieces slowly under a plastic sheet so they do not crack. Use test tiles if you are glazing, and do not expect your first firing to be a masterpiece. Pottery is a slow hobby pretending to be a craft.
A £50 kit will not make you a studio potter. It will get you making, learning and deciding whether you actually enjoy clay before you spend more. That is the whole point. The flat can stay a flat. The pottery corner can be a tray, a board and a bag of clay. That is enough to begin.